
Keeping sensitive data secure is very important as a mobile developer as phones can quite easily be misplaced or stolen. Databases, for example, can be encrypted to keep out prying eyes but there is one area is very often overlooked; the recent application list. Whenever an app is sent to the background, the OS, will take a screenshot to display as the preview of the app within the recent application list and any data that is on the screen when the screenshot is taken will be visible. To prevent potentially sensitive data leaking like this it’s possible to obscure or hide the screenshot that was taken by the OS.
Xamarin.Android
Android is very straightforward to get set up, though unfortunately, there’s no customisation allowed 🙁 In MainActivity.cs do the following:
- Override
OnPauseto set theWindowManagerFlags.Secureflag on theWindow- Note that this must be done before calling
base.OnPause()
- Note that this must be done before calling
|
1 2 3 4 5 |
protected override void OnPause() { Window.SetFlags(WindowManagerFlags.Secure, WindowManagerFlags.Secure); base.OnPause(); } |
- Then, override
OnResumeto clear the flag when the application is brought to the foreground
|
1 2 3 4 5 |
protected override void OnResume() { base.OnResume(); Window.ClearFlags(WindowManagerFlags.Secure); } |
Screenshots
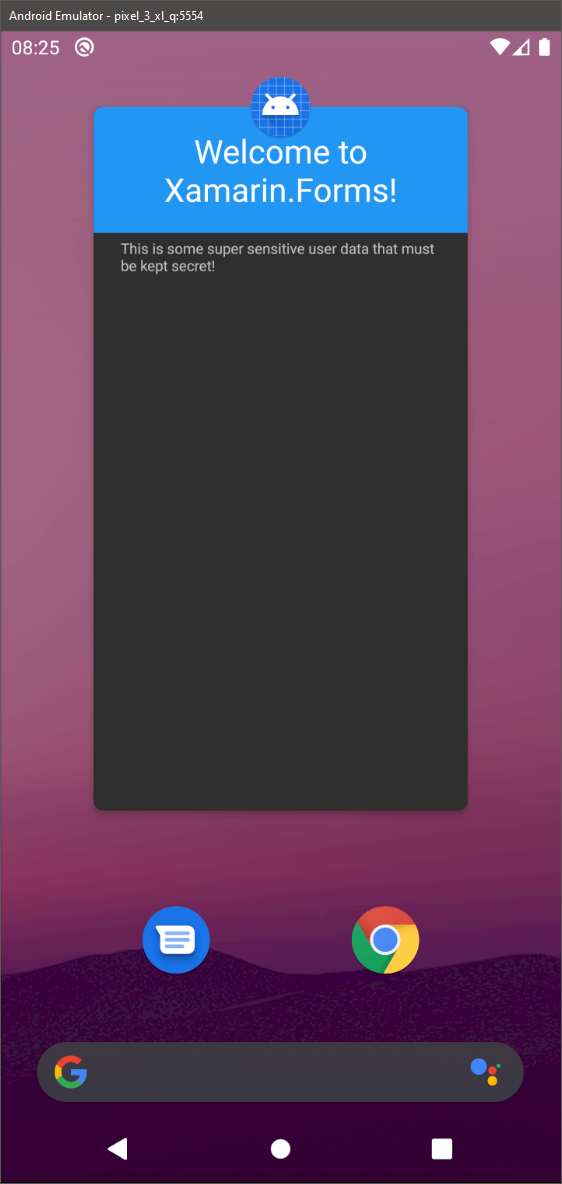
Android: No privacy screen 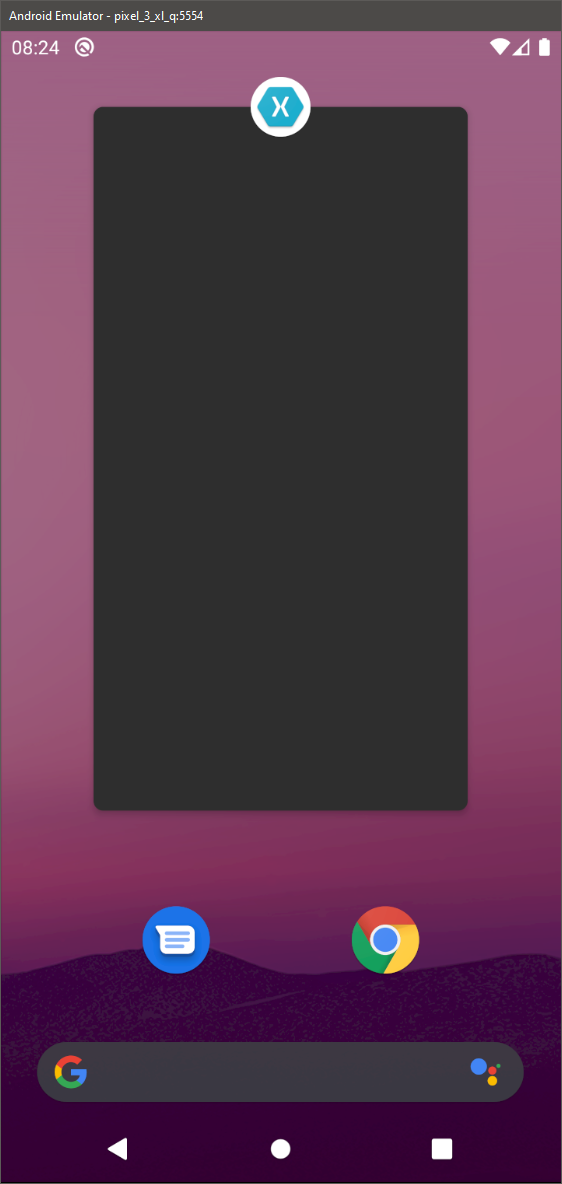
Android: Privacy screen
Xamarin.iOS
Most iOS examples I found used a blur effect to hide the screen content but this wasn’t exactly what I wanted to do; I wanted to do something a little more custom and display a logo in a similar fashion to the splash screen. The most effective way of doing this is to create a custom UIViewController that will be used to replace the current KeyWindow for the application whenever it enters the background. Using a custom UIViewController solves one big problem that I found when simply using a UIView as the privacy screen:
- After putting the app into the background and rotating the device, when viewing the recent application list the privacy screen would only partially cover the preview. I believe this to down to the dimensions of the screen changing when the device is rotated and the
UIViewhad no way of being resized properly. Using the code below solves this issue and will keep your preview screenshot secure 😊
|
1 2 3 4 5 6 7 8 9 10 11 12 13 14 15 16 17 18 19 20 21 22 23 24 25 26 27 28 29 30 31 32 33 34 35 36 37 38 39 |
public class PrivacyScreenViewController : UIViewController { const string ImageAsset = "LogoImages"; const string BackgroundColourAsset = "BackgroundColours"; private UIImageView _image; public PrivacyScreenViewController() : base() { _image = new UIImageView(UIImage.FromBundle(ImageAsset)) { // If specifying constraints programmatically this should ALWAYS be false TranslatesAutoresizingMaskIntoConstraints = false }; // Get the background colour from Assets: View.BackgroundColor = UIColor.FromName(BackgroundColourAsset); // Add the image to the view BEFORE setting up any constraints View.AddSubview(_image); // Anchor the logo image to the centre of the view controller _image.CenterXAnchor.ConstraintEqualTo(View.CenterXAnchor).Active = true; _image.CenterYAnchor.ConstraintEqualTo(View.CenterYAnchor).Active = true; } protected override void Dispose(bool disposing) { base.Dispose(disposing); if (disposing) { _image?.RemoveFromSuperview(); _image?.Dispose(); _image = null; } } } |
The code above makes a couple of assumptions:
ImageAssetis the name of an Image Set withinAssets.xcassets. This is the image to be displayed on the privacy screen and will allow you to specify different images for Light and Dark mode.BackgroundColourAssetis the name of a Color Set withinAssets.xcassets. This is the colour that will be used as the background colour for the privacy screen and will allow you to specify different colours for both Light and Dark mode.
Now that we have the view that we want to display all sorted, using it is quite simple. In AppDelegate.cs:
- Override
DidEnterBackgroundand create a newUIWindowto replace the currentKeyWindow.
|
1 2 3 4 5 6 7 8 9 10 11 12 |
private UIWindow _privacyWindow; public override void DidEnterBackground(UIApplication uiApplication) { base.DidEnterBackground(uiApplication); var viewController = new PrivacyScreenViewController(); _privacyWindow = new UIWindow(UIScreen.MainScreen.Bounds); _privacyWindow.RootViewController = viewController; _privacyWindow.WindowLevel = UIWindowLevel.Alert + 1; // Make sure it's over the top of any alerts _privacyWindow.MakeKeyAndVisible(); } |
- Then, override
OnActivatedto dispose of the privacy screen window created when the app was sent to the background.
|
1 2 3 4 5 6 7 8 9 10 11 |
public override void OnActivated(UIApplication uiApplication) { base.OnActivated(uiApplication); if (_privacyWindow != null) { _privacyWindow.Hidden = true; _privacyWindow.Dispose(); _privacyWindow = null; } } |
Screenshots
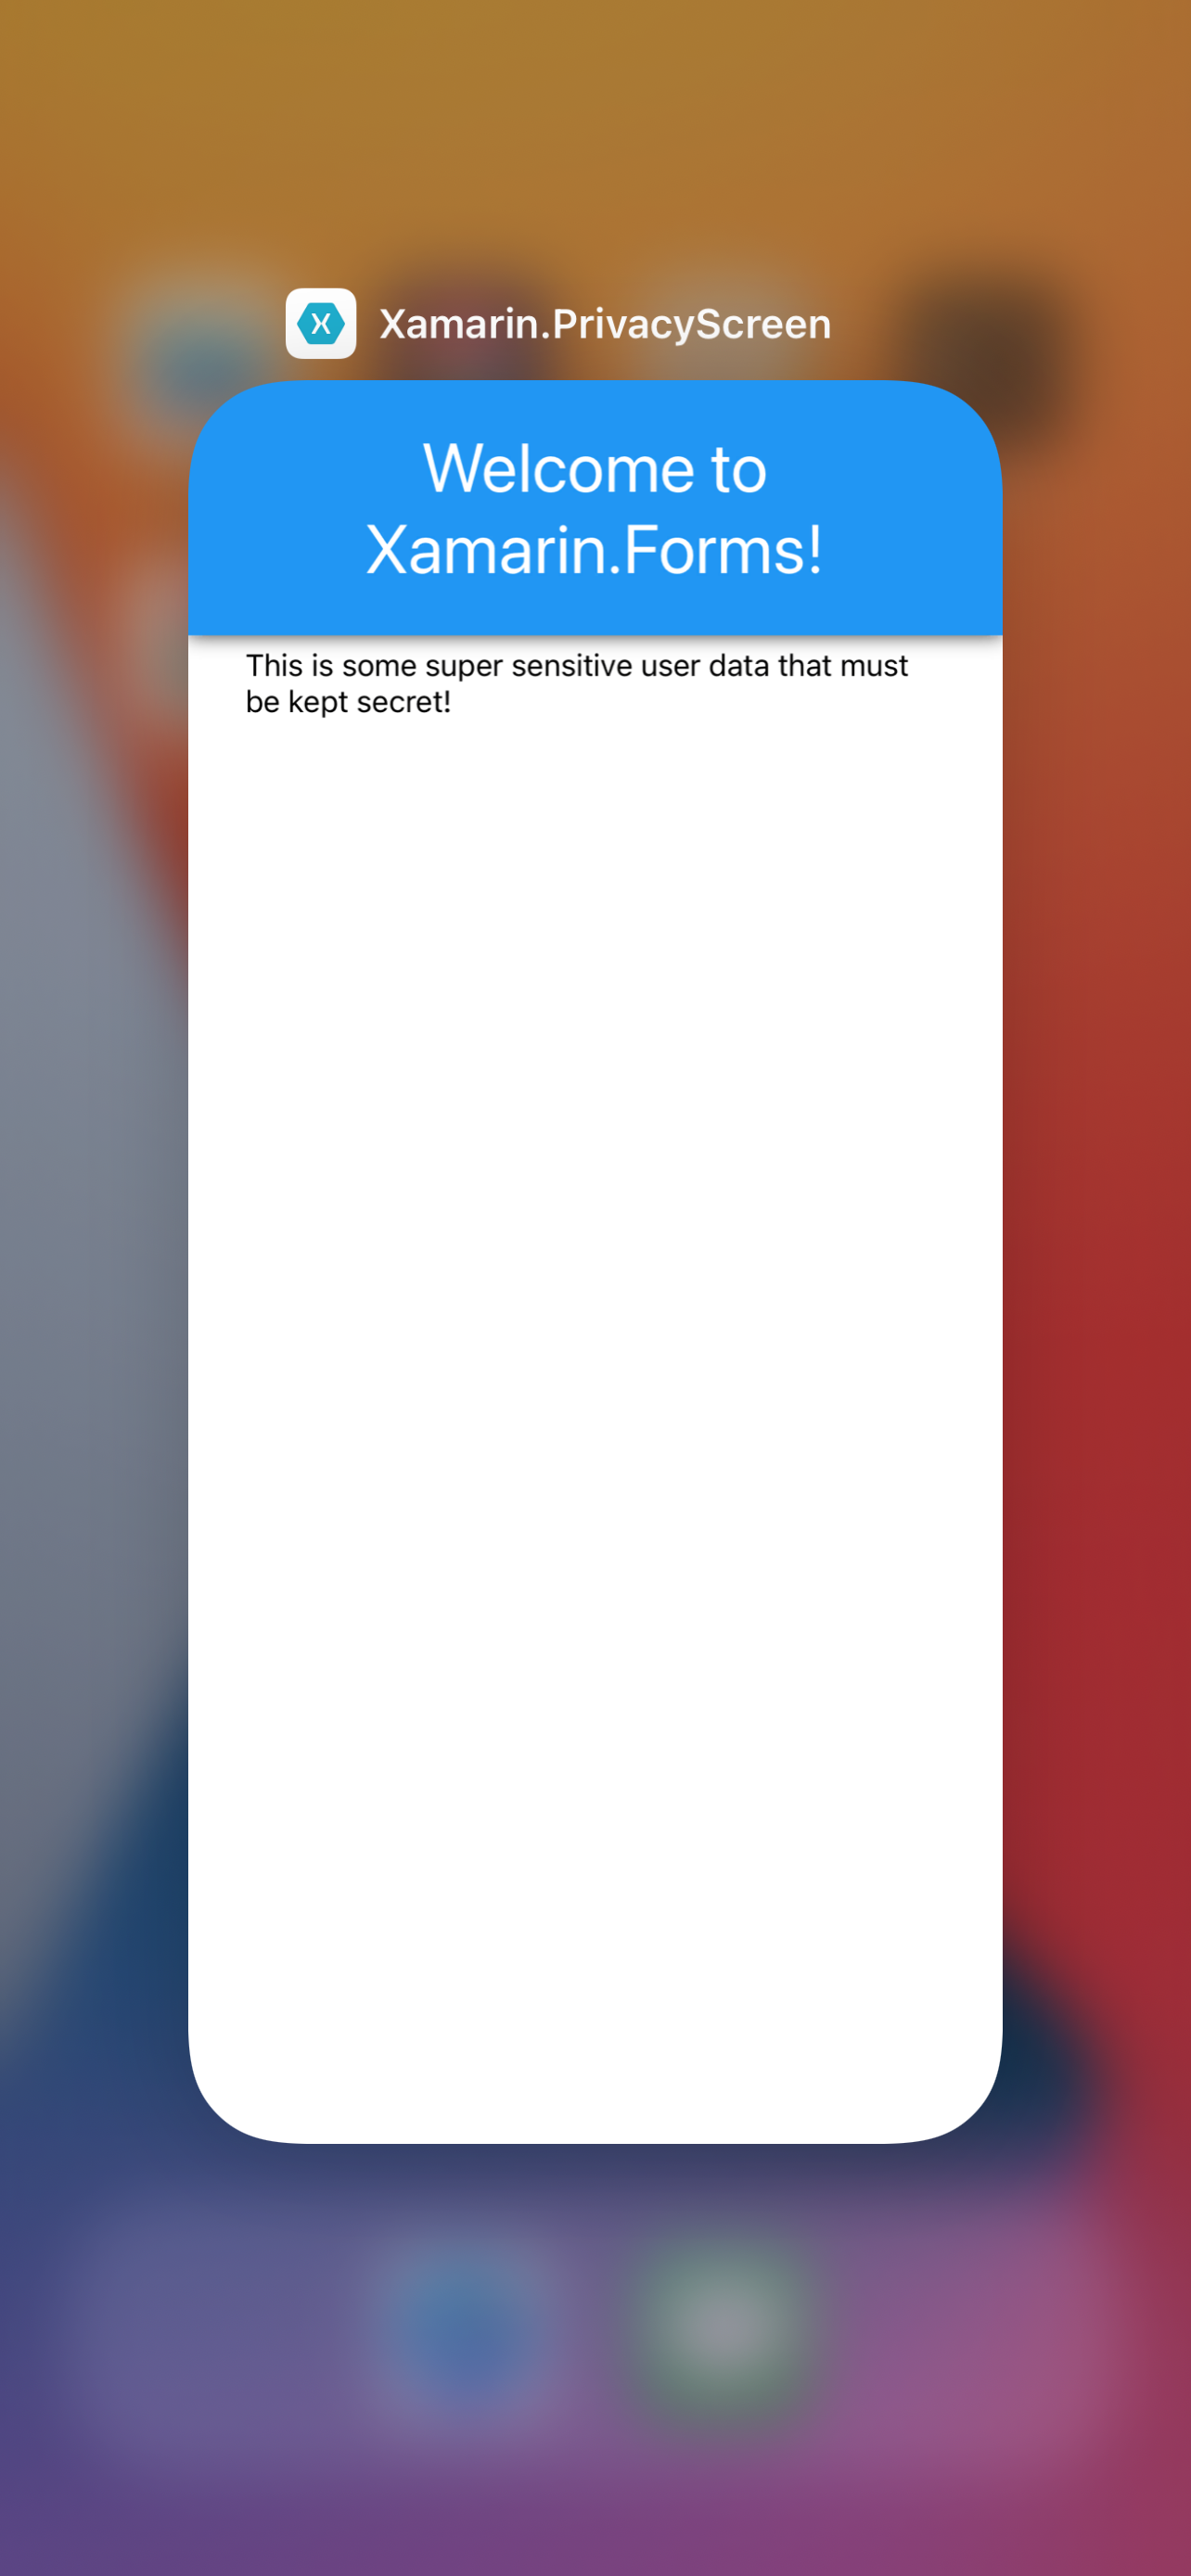
iOS: No privacy screen 
iOS: Privacy screen